Chromebooks are lightweight, fast portable computers. I have my Samsung Galaxy Chromebook Go which I use as my daily driver. Routinely I use it to binge on Netflix shows. Not being a U.S resident, I installed a VPN on my Chromebook to access shows that are not available in my region. There are a number of ways of setting up a VPN on your Chromebook and they include;
Through an Android app downloaded from the Google Play store.Through a Chrome extension downloaded from Chrome web store. Connecting to a VPN provider through a built-in Chrome OS System VPN client.
The fastest and easiest way to set up a VPN on your Chromebook is through Android Apps. Almost all Chromebooks now support the Google Play store where you can download and install Android apps in a similar way you do on your Smartphone. Android Apps are designed for smaller screen and touch gestures found on Smartphones, so the user experience on Chromebooks isn’t that smooth. You’ll find some buttons for instance that are hidden from your Chromebook screen. When this happens, try to change the display options of the App from mobile to tablet to resizeable.
Using Android VPN apps
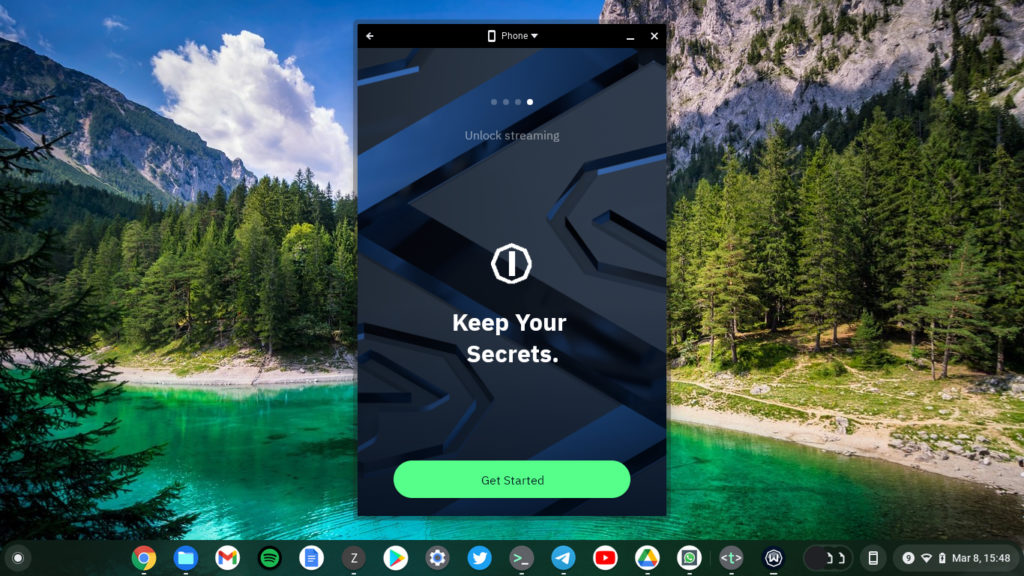
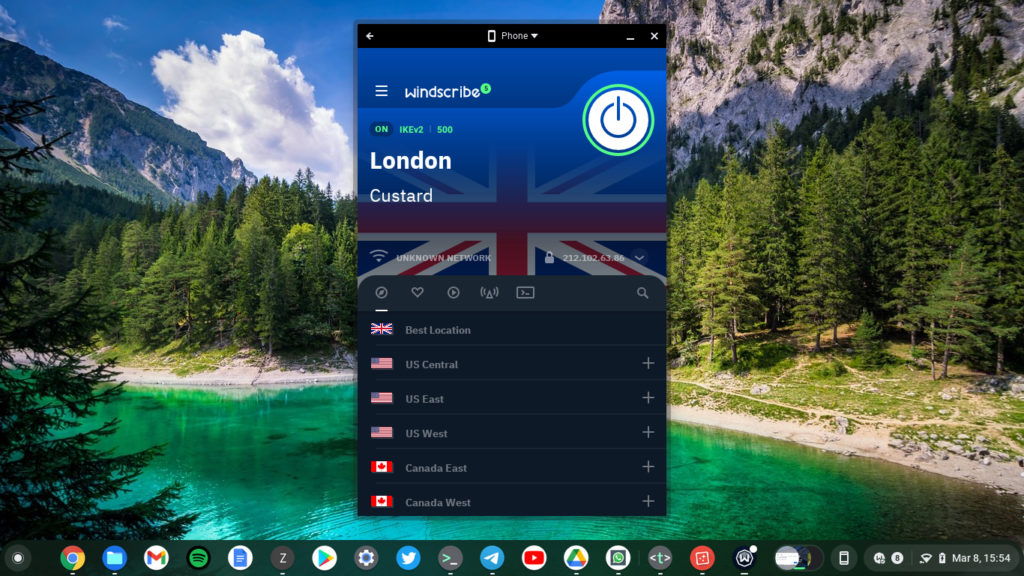
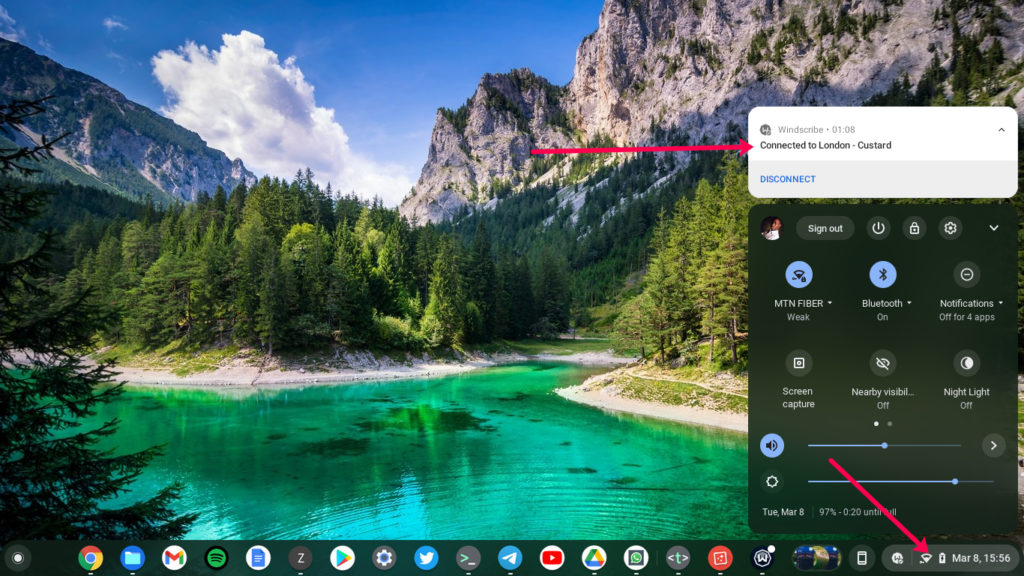
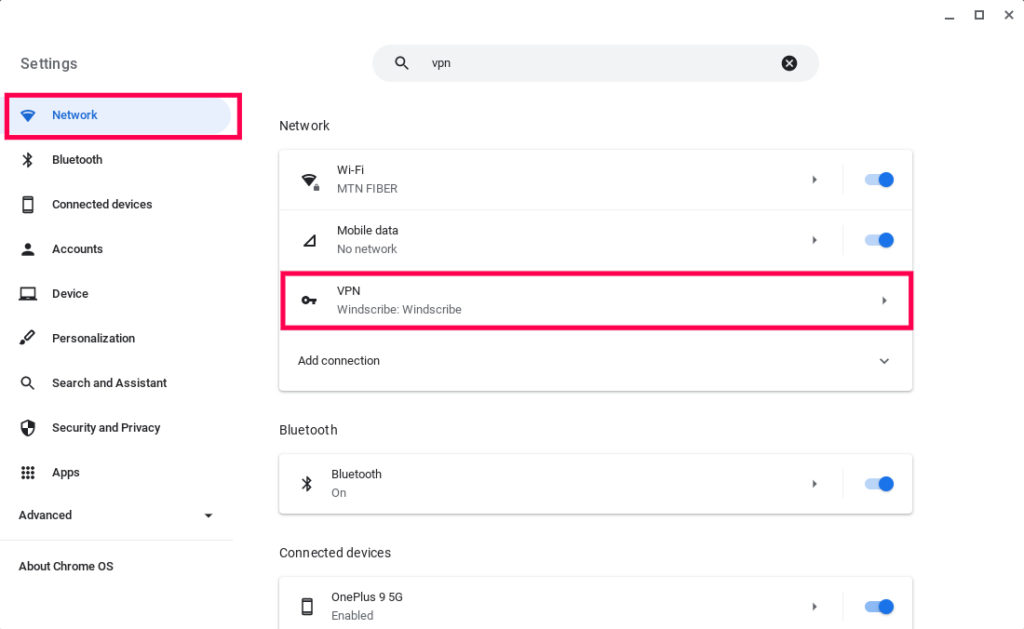
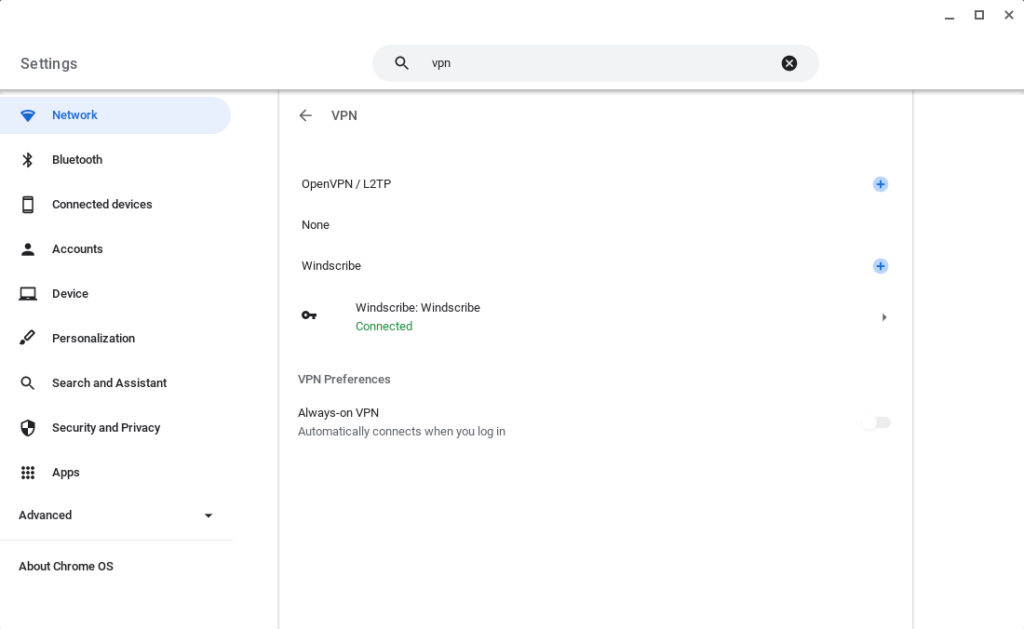
The Google Play store has so far the largest number of VPN apps both free and paid. The best VPNs are those that are paid for because they offer much faster speeds, security and privacy. Top players in this category include ExpressVPN, NordVPN, SurfShark, IPVanish, Private Internet Access, CyberGhost, NordVPN, Windscribe, Hide.me, PureVPN and Hotspot Shield VPN. Subscription plans typically range from $9-12/month for the most premium providers such as ExpressVPN, SurfShark or NordVPN and about $4-5/month for providers like Windscribe and ProtonVPN. Related post: Top 10 Free and Paid VPNs for Fire TV Top Free VPNs offer some kind of freemium package and include ProtonVPN, Windscribe, Psiphone and Hotspot Shield VPN. ProtonVPN offers the best deal with a free plan that supports only one VPN connection and unlimited bandwidth. Windscribe offers 10GB for free after which you’ll have to pay. Hotspot Shield VPN offers 500MB of bandwidth daily, 2Mbps speeds and a restriction to only U.S based servers. To install VPN from the Google Play Store on your Chromebook, open the Play store App from the App launcher and search for your VPN of choice and then click on install. In my case, I used Windscribe VPN. Now sign in with your credentials if that’s required, select your preferred server location and then simply click on connect. You’ll see a connection request from the Chrome OS operating system asking you to confirm whether you want the VPN app to create a connection on your Chromebook. Simply Accept or Click “OK”. If the connection is successful, you should see a key next to the WiFi icon on the system tray. When you click on it, you’ll see VPN connection information just right above the system tray. You can view more details about your VPN connection by opening Settings > Network > VPN. Here you can enable Always-on VPN which will set your Chromebook to automatically connect to the VPN when you login to your computer. You can also view detailed technical stuff like assigned IP address and DNS name servers of your VPN connection. You can also disconnect from your VPN from here. Obviously, you can view some of this information and perform familiar tasks from the VPN android App itself which is what I would recommend you do.
Using Chromebook VPN extension
Another way you can connect to a VPN on your Chromebook is through a Chrome Extension. These are little programs that run the Chrome browser and add additional functionality to the browser’s capabilities. Chrome Extensions are downloaded from the Chrome web store website. Now Chrome VPN extensions don’t give system-wide VPN protection. The VPN connection only works for Apps and websites you visit through the Chrome browser. This is very important to note. To install Chrome VPN extension, your VPN provider of choice has to have a Chrome extension. You can find out from their website or search from the Chrome web store. For my case, Windscribe has a Chrome extension which I downloaded from the Chrome web store. Start the Chrome extension by clicking on the Chrome extension icon from your Chrome browser. It’ll show a list of recently installed extensions. Click on your provider’s extension and click connect. The connection will be initiated and hopefully you should be connected in no time.
Through system VPN Client
You can connect to a VPN server through the built-in VPN connection client. This requires a lot more technical knowledge than what the average Joe has. This method is only worth it if you’re connecting to your own VPN server, a corporate VPN network such as one run by your school or organization. In this case, either your organization’s I.T system/network administrator will set it up for you or if you’ve got the technical skills, you can do it by yourself. The built-in VPN client requires you to enter details about your VPN server such as hostname, server CA Certificate, VPN type (only openVPN and L2TP protocols are supported), username, password etc. You enter all these details in a form and if correct, you can then connect to the VPN network. Most people won’t need this method though. Here’s our Youtube tutorial on how to setup a VPN on your Chromebook. Alright, that’s all. If you have any questions, let me know in the comments below.
